Testing your soil is essential for a healthy, thriving garden. The Grounds Guys recommend these steps for accurate soil assessment:
|
Rich, well-balanced soil is the key to growing a healthy garden and lawn, but how do you know if your soil needs a little TLC? A soil test can help you unlock those secrets and give you the information you need to improve your soil, giving your grass and plants the best chance to thrive. Soil examination is a powerful tool every homeowner should have in their gardening toolkit. Not sure how to test your soil? It’s easier than you might think. So, let’s dig right into how to test your soil.
Table of Contents:
- Why Should a Homeowner Perform Soil Testing?
- How to Get My Soil Tested: Options and Resources
- How to Test Your Soil: Step-By-Step Guide
- 1. Purchase Your Test and Supplies
- 2. Divide Your Yard Into Zones
- 3. Collect Your Soil Samples
- 4. Prepare Your Samples
- 5. Interpret Your Results
- What Information Does a Soil Test Give You?
- How Often Should You Do a Soil Test?
- What to Do with the Results of Your Soil Test
Why Should a Homeowner Perform Soil Testing?
Plants, like humans, need a balanced diet to grow strong and flourish. Soil testing can help you understand what nutrients your soil needs. The results of a soil test allow you to make informed decisions about how to best manage your soil, such as if you should fertilize your lawn or how to amend your soil.
Why should a homeowner perform soil testing?
- To identify nutrient deficiencies
- To avoid over-fertilizing the lawn and garden
- To optimize the soil pH
- To save money and resources on unnecessary soil amendments and treatments
How to Get My Soil Tested: Options and Resources
Let’s get down into the nitty gritty of soil testing. There are two main ways to perform a soil examination. The right choice will depend on your budget and how deep you want to dive into the quality of your soil.
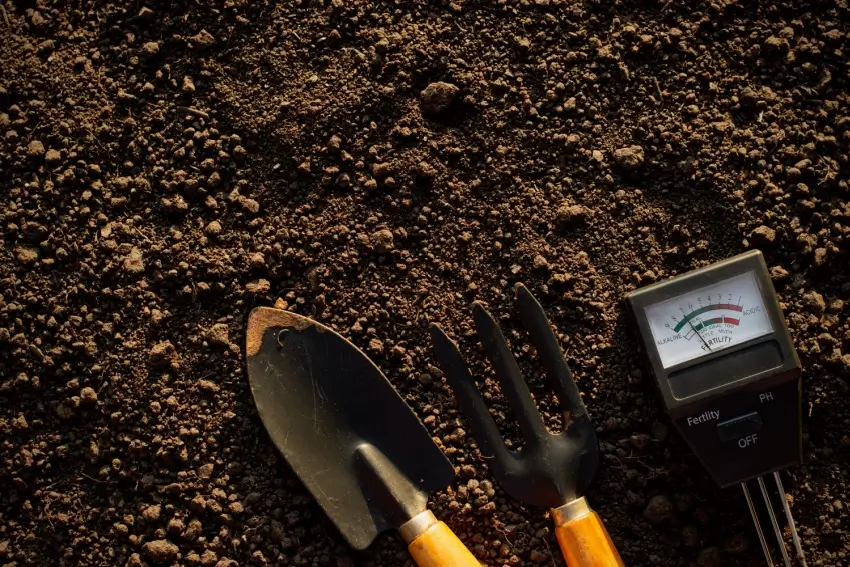
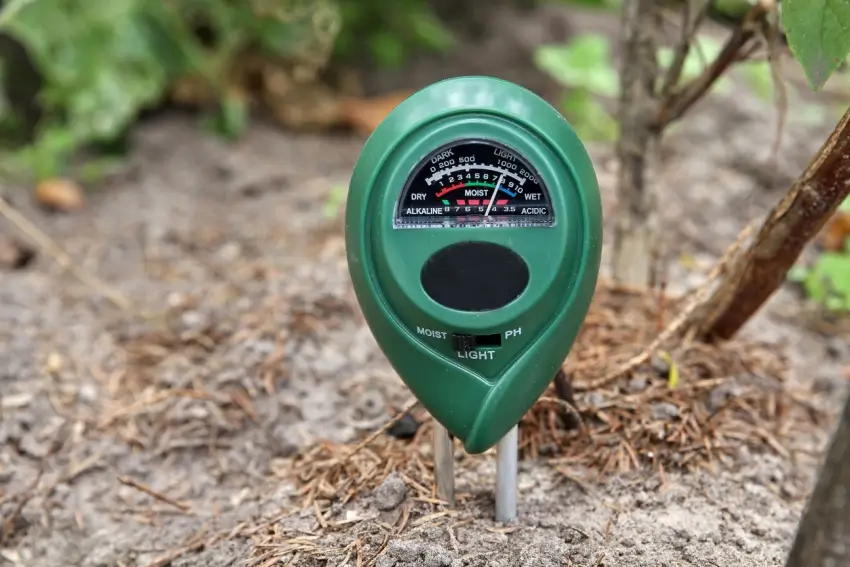
Home Soil Testing Kit
The easiest way to test your soil is to pick up a DIY testing kit. These kits are convenient, readily available, and affordable. You’ll also get nearly instant results, allowing you to take immediate action.
The biggest downside to a DIY testing kit is the limited scope of the results you’ll receive. Most home kits only test for the most essential nutrients (N, P, K) and pH levels. Also, while DIY kits can give you a general idea of your soil’s health, their results are often less precise than professional lab tests.
Professional Lab Soil Tests
If you want more details about the health of your soil and the highest accuracy results, you’ll need to utilize a professional lab. You’ll get a much more extensive soil analysis compared to a DIY soil test kit. Many labs can test for macro- and micronutrients, pH, organic matter, and other important soil characteristics. Labs also often provide you personalized recommendations based on your test results.
Professional labs use advanced equipment and standardized methods to ensure high accuracy. The downside of using a soil testing lab, however, is that the tests are generally more expensive. Turnaround times can take anywhere from a few days to a few weeks.
If cost is a significant consideration, look for cooperative extension services in your area. These services may offer soil testing for free or at a lower cost than a lab. Check with your county or provincial government to find the nearest extension service in your area.
How to Test Your Soil: Step-By-Step Guide
The good news is that you don’t need a scientific laboratory or a college degree in chemistry to successfully perform a soil test. Generally, you have two main options. First, you can purchase a testing kit for a DIY soil test. The alternative is to collect soil samples and send them to a professional laboratory for testing.
1. Purchase Your Test and Supplies
If you plan to perform an at-home soil test, head to your nearest garden or home improvement store and buy the test. For professional testing, you’ll need clean plastic buckets or bags to collect your soil samples.
2. Divide Your Yard Into Zones (Optional)
Split your yard into distinct areas based on plant type, soil appearance, or problem areas. This will help you get more targeted results and recommendations. If your lawn or garden is generally in the same condition, you may wish to skip this step and simply perform a single test.
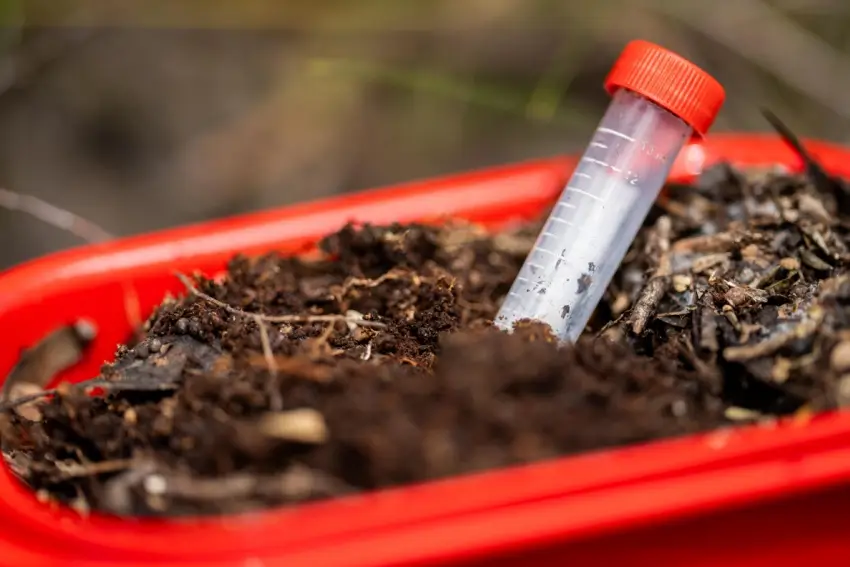
3. Collect Your Soil Samples
For each zone, dig five to 10 holes about 15 cm deep using a trowel or spade. Mix the soil from each hole in a clean bucket to create a compost sample for that zone. Make sure to label the samples as you take and place them into a container to avoid confusion later on.
4. Prepare Your Samples
If you’re using a professional lab, place about a cup of the mixed soil into a plastic bag. Make sure it is clearly labeled and sealed, then ship it to the lab. Repeat this process for each zone in your yard. For DIY soil testing, simply follow the instructions provided with the kit. This typically involves mixing the soil with water and reagents provided in the kit.
5. Interpret Your Results
For DIY soil testing, compare the colour of your prepared samples to the chart provided to determine your soil's nutrient levels and pH. Your DIY soil test kit should give you general guidelines on how to make soil amendments based on your results. Professional lab reports offer more detailed analyses and recommendations based on your specific goals.
What Information Does a Soil Test Give You?
A soil examination provides you with a wealth of information about your soil’s physical and chemical properties. A DIY test will generally provide less detail than a professional test performed by a lab.
- Macronutrient levels: You’ll learn if you have too much or too little of the three essential macronutrients your soil needs to thrive: Nitrogen (N), phosphorus (P), and potassium (K).
- Secondary and micronutrient levels: Lab tests often drill down even deeper and may include your soil’s levels of calcium (C), magnesium (Mg), sulfur (S), iron (Fe), manganese (Mn), boron (B), zinc (Zn), copper (Cu), and molybdenum (Mo).
- pH level: You’ll learn your soil’s pH level, which can help determine if your soil is too acidic or alkaline for the plants you want to grow.
- Soil texture: All soil contains a ratio of sand, silt, and clay. Knowing the makeup of your soil can help you choose the right plants and soil amendments.
- Organic matter: A soil test can determine the percentage of organic matter in your soil, which helps improve soil structure, water retention, and nutrient-holding capacity.
- Specific recommendations: A professional lab test often includes customized recommendations for fertilizers, soil amendments, and cultural practices to optimize the health of your soil.
How Often Should You Do a Soil Test?
We recommend performing a soil examination every two to three years on an established landscape to monitor changes in your soil health over time and to make necessary adjustments.
That said, it’s a good idea to perform a soil test any time you make large changes to your landscape or notice any problem areas or struggling plants. For example, if you’re establishing a new lawn or garden or if adding compost to your lawn, a soil test is in order.
What to Do with the Results of Your Soil Test
Your soil test can only give you information and advice. It’s up to you to take action and use that information to improve the health of your soil. Making changes to your soil can be a long process that requires work and patience. For example, amending highly acidic soil or soil with a high clay content is not a project that takes a matter of weeks but rather a matter of months, and in some cases, years.
Not sure where to begin? The Grounds Guys® can help. Our local teams throughout Canada understand the soil requirements of your region and climate. We can perform and interpret soil tests on your behalf and use the results to improve your soil and the overall health of your lawn and landscape. That means you can sit back and relax while we transform your lawn and garden into the lush green paradise you’ve been dreaming about. We also perform ongoing residential and commercial landscaping services.
To get started, request a free quote today!
This article is intended for general guidance only and is not applicable to every situation. You are responsible for determining the proper course of action for your property and situation. The Grounds Guys are not responsible for any damages that occur as a result of advice and/or guidance derived from its blog content.
The Grounds Guys services may vary by location. Please contact The Grounds Guys franchise nearest you for more information.